Effective Ways to Braise Meat for Delicious, Flavorful Dishes in 2025
Braising is an essential cooking technique that transforms tough cuts of meat into tender, flavorful dishes. In this article, we’ll explore the fundamentals of how to braise meat effectively, including practical tips, popular recipes, and the best cooking methods to please every palate. Whether you’re a novice cook or an experienced chef, this guide will help you braise meat with confidence for mouthwatering results. Let’s delve into the world of braised meats and discover how to create savory dishes that are perfect for any occasion.
Braising Techniques That Work Every Time
Understanding the **braising techniques** is fundamental to achieving succulent, tender meat. The process typically involves searing the meat to develop rich flavors before cooking it slowly in a flavorful liquid. This combination of dry and moist heat allows the collagen in the meat to break down, resulting in an incredibly tender texture. To start, preheat your oven to a moderate temperature and choose the right pot, such as a Dutch oven, which maintains even heat. A classic braise begins by browning the meat over high heat, locking in juices and flavor, before adding aromatics and liquids for the slow cooking process.
Choosing the Right Cuts of Meat
Selecting the appropriate cuts is essential for successful braising. Typically, **best meats to braise** are tougher cuts that benefit from slow cooking, such as chuck roast, brisket, or shanks. These cuts have significant amounts of connective tissue that break down over low heat, resulting in juicy and flavorful braised beef or pork. For poultry, braised chicken thighs are often more flavorful than breasts and remain moist during the cooking process. Always evaluate the *freshness of the meat* to ensure the best quality for your dishes.
Preparing Ingredients for Braising
Once you have chosen your meat, the next step is **how to prepare meat for braising**. Trim any excess fat, but leave some on for flavor and moisture. Season generously with salt and pepper to enhance the meat’s natural flavors. Additionally, don’t forget to gather other ingredients: aromatic vegetables like onions, carrots, and celery, along with **braising spices** and herbs, will add depth to your dish. A typical shortcut is to sauté these ingredients before adding the liquid, elevating the flavor profile of your braised dish significantly.
Creating Flavorful Braising Liquid
The **braising liquid** is crucial in crafting delicious, savory braised dishes. Traditional liquids include broth, stock, wine, or beer, each contributing distinct flavor notes. For example, cooking with wine not only infuses the meat with its flavor but also helps to tenderize the meat thanks to its acidity. A simple **braising liquid recipe** might include a cup of red wine, a cup of beef stock, and two cups of vegetables or herbs. **Adjusting braising flavors** to suit your taste is encouraged; consider adding soy sauce for umami, tomatoes for acidity, or a touch of citrus to brighten the flavors.
Layering Flavors in Braising
To achieve optimal results, **layering flavors in braising** is essential. Begin by *browning your meat* in batches to avoid overcrowding and ensure even cooking. After browning, remove the meat and sauté your aromatics in the same pot to capture and incorporate the fond, those delicious brown bits left behind. Once the vegetables have softened, deglaze the pot with **your chosen liquid**, scraping up the fond to further enrich the braising liquid. Finally, return the meat to the pot, ensuring it’s partially submerged in the braising liquid, and cover tightly before placing it in the preheated oven.
How Long to Braise
**How long to braise** your meat greatly depends on the cut and thickness. Generally, tougher cuts require longer cooking times. For example, braising beef may take 2.5 to 3 hours at 300°F, while chicken typically takes around 1.5 to 2 hours, depending on size. Low and slow cooking is key; check the doneness by using a meat thermometer, ensuring it reaches an internal temperature of at least 145°F for poultry and 190°F for tougher cuts of beef or pork. Remember that these cooking times can vary, so it’s advisable to follow a trusted recipe or use a **braising temperature** guideline for consistency.
Braising Vegetables to Complement Your Meat
Braising isn’t just for meat; you can also enhance **braising vegetables**, which cook alongside your main dish, absorbing those great flavors. Vegetables like carrots, leeks, and potatoes adapt beautifully to this cooking technique, becoming tender and saturated with rich flavors. When added to the pot during the last hour of cooking, these veggies soften and sweeten, creating a complete meal in one pot. Other great options include celery, turnips, and parsnips, which can withstand the long cooking times without disintegrating.
Braising Techniques for Vegetables
When braising vegetables, ensure they are cut evenly to achieve consistent cooking. Start them off in the **braising liquid**, adding them to the pot where they will absorb flavors from the surrounding meat. For an extra layer of complexity, consider seasoning them with **braising herbs** such as thyme and rosemary or flavored oils. This step will further enhance the flavors, creating a delightful combination that transforms your braised dish into an exquisite serving of comfort food.
Combining Braised Meat and Vegetables
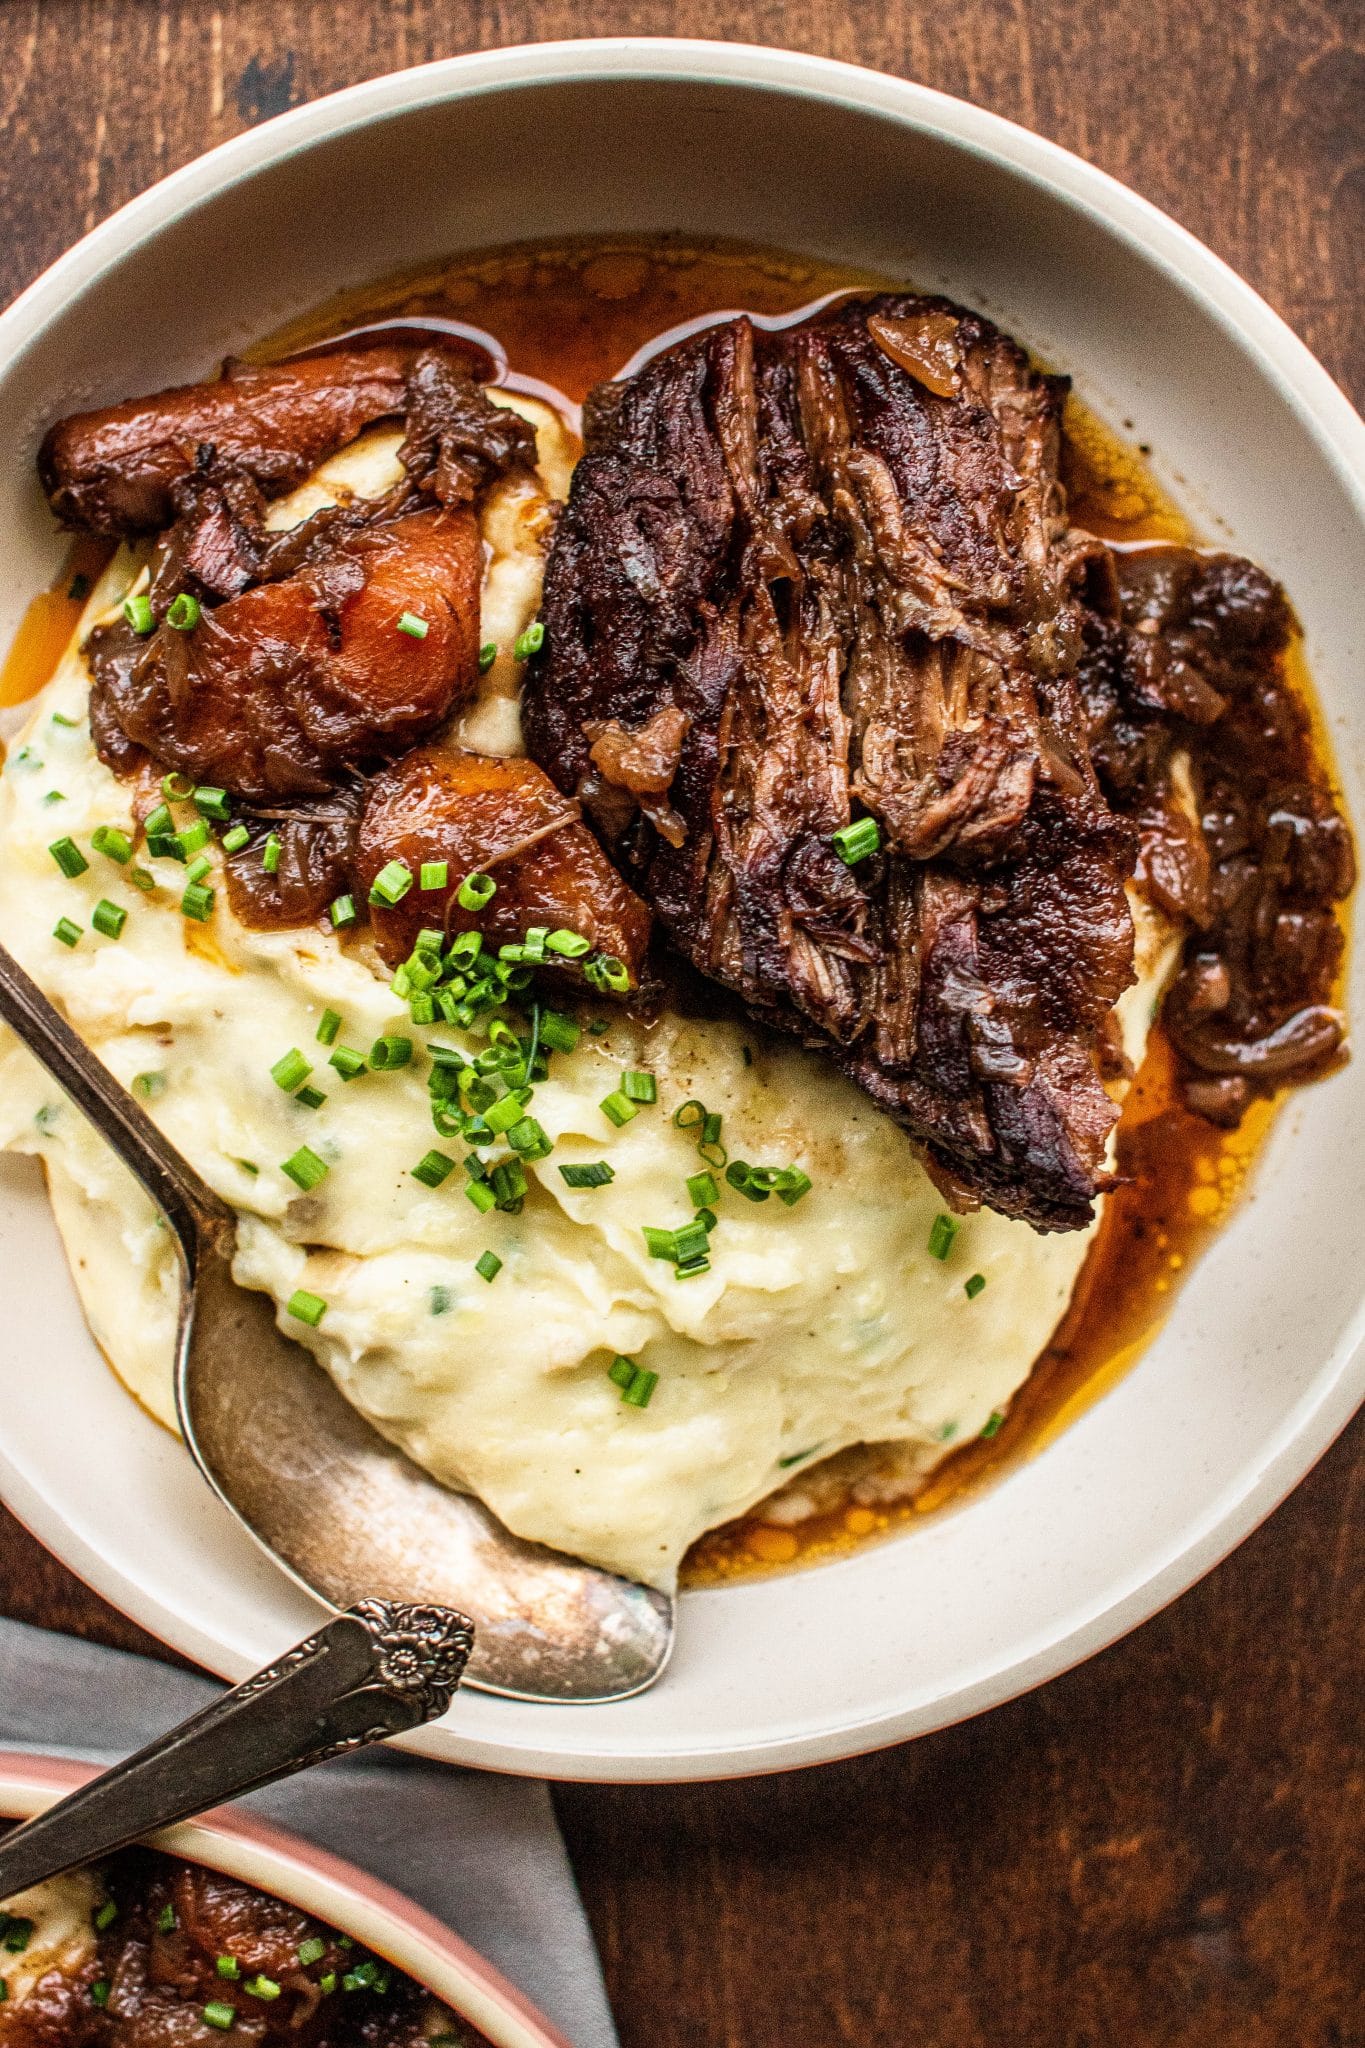
The art of combining **braised meat dishes** with seasonal vegetables is all about balance. For instance, a braised short rib might pair perfectly with a medley of braised carrots and potatoes, completing the meal with a variety of textures and flavors. Pro tip: when prepping the meal, aim to have similar cooking times for the vegetables and meat. By the end, both meat and vegetables will be sumptuous and ready to serve, making for an outstanding dinner experience. You can even utilize the leftover braising liquid as a sauce to drizzle over your entire dish for an added punch of flavor.
Key Takeaways for Braising with Confidence
Now that you’ve mastered the basics of braising, remember these essential tips to ensure success every time:
- Choose the right cuts of meat and season them well.
- Use a variety of flavorful liquids based on your meat and personal preferences.
- Don’t rush the cooking time; embrace the low and slow method for incredible tenderness.
- Incorporate seasonal vegetables to create well-rounded, satisfying dishes.
- Always taste and adjust the flavors throughout the cooking process.
With these strategies in hand, you’re ready to confidently embark on your braising journey, crafting delicious meals that impress family and friends alike.
FAQ
1. What types of meat work best for braising?
Tougher cuts of meat are ideal for braising, such as chuck roast, brisket, or shanks, as they contain more connective tissue. This leads to tender and flavorful results when cooked slowly.
2. Can I use a slow cooker for braising?
Absolutely! A slow cooker is a great tool for **braising in a slow cooker**. Simply follow the same steps—browning the meat and sautéing the aromatics—and switch to your slow cooker for long, low cooking.
3. How does braising differ from stewing?
Braising generally involves larger chunks of meat that are browned and cooked with some liquid, while stewing typically involves smaller pieces of meat fully submerged in a larger amount of liquid. Both utilize low and slow cooking methods but differ in size and proportion.
4. What can I do with leftover braising liquid?
Leftover braising liquid makes an excellent base for soups, sauces, or gravies. Strain it and reduce it to concentrate flavors, or simply freeze it for future use in other dishes.
5. How should I store braised meats?
To store braised meats, let them cool completely, then refrigerate in airtight containers for up to three days. For longer storage, consider freezing any leftovers for later enjoyment.